• Home
  • Class Policy
  • Curriculum
    • Getting Started >
      • What is Graphics?
      • Course Syllabus
      • Copyright
      • Layout Sequence
      • Time Sheets
      • Survey
    • Type >
      • Type Lesson
      • Typeface Search
      • Type Study Guide
      • Typeface Search Cover
      • Typography Assignment
      • Personifying a Word >
        • Brainstorming
        • Thumbnails
        • Rough
        • Making the Vector
        • Turning in the Project
    • Illustrator >
      • What are Pixels
      • What is resolution?
      • Illustrator Dog
      • Rasters vs. Vectors
      • Practice Vector
      • Illustrator Vector
      • Vectoing Issues
      • Vector Touchups
      • Saving, Printing, and Emailing
    • Screen Printing >
      • Syllabus & Assignment
      • Thumbnails
      • Rough
      • Comprehensive
      • Degreasing a Screen
      • Coating a Screen
      • Exposing a Screen
      • Washing out a Screen
      • Patching Pinholes
      • Blocking Out
      • Cutting Paper to Print on
      • Printing Color 1
      • Printing Other Colors
      • Reclaiming a Screen
      • Choosing Keepers
      • Matting a Print
      • Submitting for Grading
    • Notepad >
      • Assignment & Syllabus
      • Thumbnails
      • Rough
      • Using a Scanner & Photoshop
      • Comprehensive
      • Making a 4-Up
      • Printing a Proof Sheet
      • Choosing Paper
      • Printing Your Notepad
      • Cutting Notepads
      • Padding
      • Final Trim
      • Mounting
      • Submitting for Grading
    • Vinyl Decal & Logo >
      • Brainstorming & Thumbnails
      • Making a Rough
      • Comprehensive (Vectoring)
      • Making the Decal Template
      • Adding the Graphics & Logo
      • Using Space
      • Uploading a Photo
      • Downloading an Image from Drive
      • Making a Practice Selection
      • Saving & Emailing the Decal
      • Appying the Decal
    • Principles of Design >
      • Ad Critique Assignment >
        • Scanning Your Ad
        • Straightening as Ad
        • Cropping the Ad
        • Making a Screen Recording
      • Vinyl Jacket Project >
        • Vinyl Layout in Illustrtor
        • Vinyl Layout Thumbnails
        • Vinyl Layout Rough
        • Making a Bar Code
        • Adding & Rescaling Items
        • Printing, Trimming & Assembling
        • Turning in the Project
      • Advertisement (Cyber Only) >
        • Unique Selling Point
        • Advertisement Thumbnails
        • Advertisement Rough
        • Taking a Photo
        • Getting Photos to the Computer
        • Downloading an Image from Drive
        • Making a Cut Out
        • Compose your Graphics
        • Assembling in InDesign
        • Critiquing your Advertisement
        • Turning in the Project
  • Links
    • NHS
    • NESD
    • Sapphire
    • Mr. Tate's Page
    • Student Google
    • NHS Graphics
  • Graphics Schools
  • Contact
  • Vocab
  • Standards
Picture

Making the Vector

With your rough done you should have a really good idea how your design should look. It's time to move to Illustrator and create the type and any other graphics or shapes that you need to personify your word. You should be able to do this on your own now with everything that you've learned already. Remember the type tricks that you learned from the Typography assignment. These can be used for tweaking the letters. The things you learned from the Ill Dog and the vector assignment should help you if you need to add any graphics to the word. Good luck!

Type

    Type Lesson
    Typeface Search Assign
    Type Study Guide
    Typeface Search Cover
    Typography Assignment​        Personifying a Word
       Brainstorming
       Thumbnails
       Rough
       Making the Vector
       ​Turning in the Project
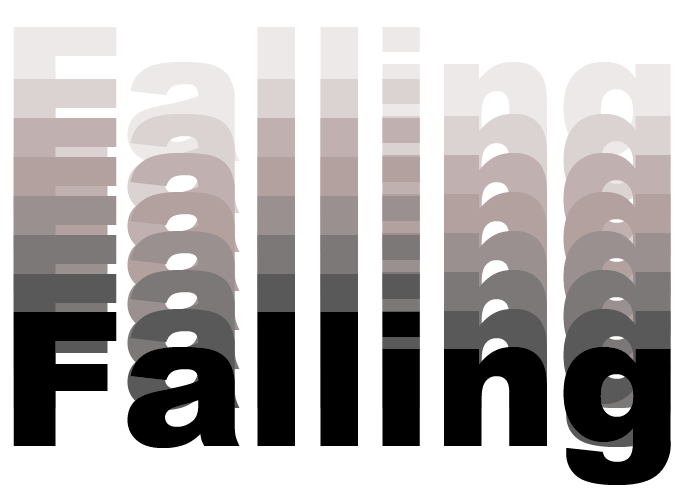
The video below will show you some ways to add to your type to make it a little more descriptive.
Powered by Create your own unique website with customizable templates.